Think you know how to use a tire changer? One wrong move can turn a routine swap into a rim-crushing disaster. Your shop’s profit relies on speed, but safety is what keeps your bay running smoothly. This guide provides the expert steps to master your tire changer, protect premium alloys, and avoid a dreaded high-pressure blowout. Ready to level up your professional tire service?
Fare un passo 1: Pre-Operation Safety Standards
Safety begins before you even power on the tire changing machine. In a professional workshop environment, you must verify that your workspace is well-lit and free of debris that could cause slips near the high-torque turntable. Your mandatory personal protective gear includes safety glasses with side shields and steel-toed boots to guard against dropped wheel assemblies.
Before any mechanical work starts, you must remove the valve stem core to deflate the tire completely. This step is essential for your safety; leaving residual air inside the tire creates a severe blowout hazard when you apply the tire changer shovel to the sidewall. You should also inspect the tire and rim for any mismatched diameter specifications before proceeding.
Fare un passo 2: Critical Mechanics of Bead Breaking
- Surface Cleaning: Wipe down the tire sidewall and rim edge to remove mud or grease. A clean surface prevents the tire changer machine shovel from slipping during high-pressure compression.
- Shovel Alignment: Position the tire vertically against the side rubber pad and align the breaker blade exactly 1/2 inch from the rim edge to avoid metal contact.
- TPMS Sensor Guard: Ensure the valve stem sits at the 12 o’clock position relative to the breaker blade. This positioning ensures the collapsing bead does not crush the internal sensor.
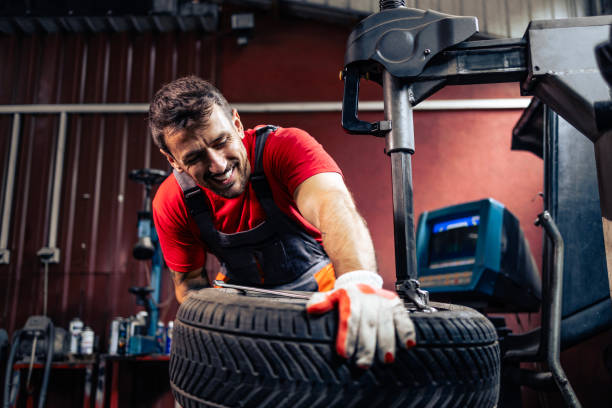
- Short-Burst Pressure: Use the foot pedal in controlled intervals to allow the rubber to release naturally. Rotate the wheel 180 degrees for a second press on stubborn SUV tires.
- Lubrication Penetration: Apply water-based mounting paste directly to the contact zone as soon as the bead starts to move to prevent the rubber from bonding to the flange.
Fare un passo 3: Secure Clamping for Alloy Protection
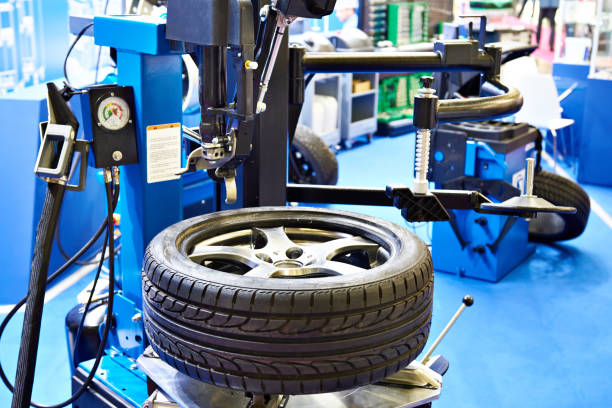
When you lift the wheel onto the tire changer turntable, your priority is securing a high-torque grip without marring the finish. For polished alloy wheels, you should always use the outside clamping method. This involves deploying plastic jaw covers or a non-marring silicone buffer to prevent the aggressive steel jaws from biting into your customer’s soft metal surface.
Center your wheel carefully on the turntable before engaging the expansion pedal. Once you have locked it in, swing the demount head into position and lock it down to maintain a precise 2mm vertical and horizontal gap from the rim edge. This small clearance is your industry rule for preventing rim scratches during the high-speed rotation cycle required for professional service.
Maximize Workshop Efficiency With Premium Tire Changers
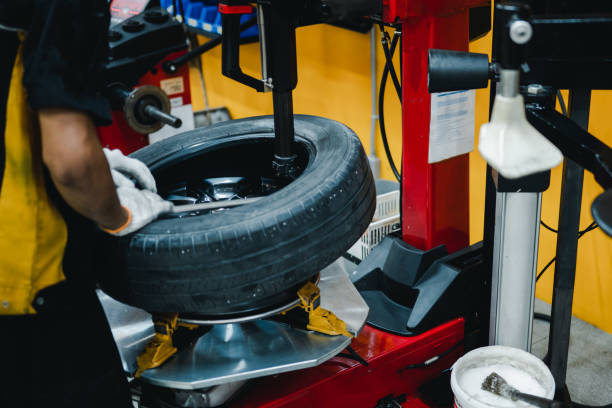
Fare un passo 4: Demounting Procedures and Tension Control
- Duckhead Lubrication: Apply a small amount of mounting paste to the duckhead itself. This reduces the friction between the tool and the tire during the high-torque extraction phase.
- Upper Bead Release: Slide your lever bar under the upper bead and anchor it over the duckhead. Ensure your bar is fully seated to prevent it from snapping back under tension.
- Drop Center Mechanics: Use your tire changing machine assist arm to push the opposite side of the tire down into the drop center. This provides the necessary physical space for the bead to stretch over the duckhead.
- Rotation Monitoring: Spin the table clockwise while you monitor the bead. If your machine stalls, stop immediately to check for binding rather than forcing the motor and risking a bead tear.
- Lower Bead Removal: Lift the tire slightly and repeat the extraction process for the bottom bead, guiding the rubber over the tool head as the wheel completes its final turn.
Fare un passo 5: Professional Lubrication and Mounting
Friction is the primary enemy of new rubber. Your success in mounting depends entirely on a pristine rim surface and the generous application of high-solids lubricant. You should always use a wire brush to strip away rust and old rubber from the rim flanges, as a clean surface is mandatory for a professional airtight seal.
When you apply Euro-style mounting paste, coat both tire beads and the rim flanges evenly. Never use petroleum-based oils or greases on your tire changer machine, as these chemicals actively break down rubber. These substances also introduce the dangerous risk of the tire spinning on the wheel during operation, which can lead to severe safety issues for the driver.
Mounting your tire requires careful alignment with the duckhead to ensure the bead stays in the drop center. For stiff low-profile or EV tires, your robotic helper arm is necessary to keep the bead locked in the rim valley during rotation. This tool prevents the rubber from jumping out, allowing the machine to rotate the bead onto the wheel smoothly.
Fare un passo 6: Safe Inflation Guidelines
Inflation is the most dangerous stage of the service cycle. You must stand clear of the vertical inflation trajectory and never lean over the tire assembly while you are applying air pressure. Regulate the air in short bursts while monitoring your gauge closely to ensure the pressure rises steadily without exceeding the structural limits of the tire casing.
Professional bay safety rules dictate a 40 psi (2.76 bar) redline during the initial bead seating phase. Listen for the distinct “double pop” as the beads seat over the safety humps of the rim. If your beads do not pop into place at this limit, you must stop immediately. Deflate your tire completely, re-lubricate all contact points, and restart your sequence.
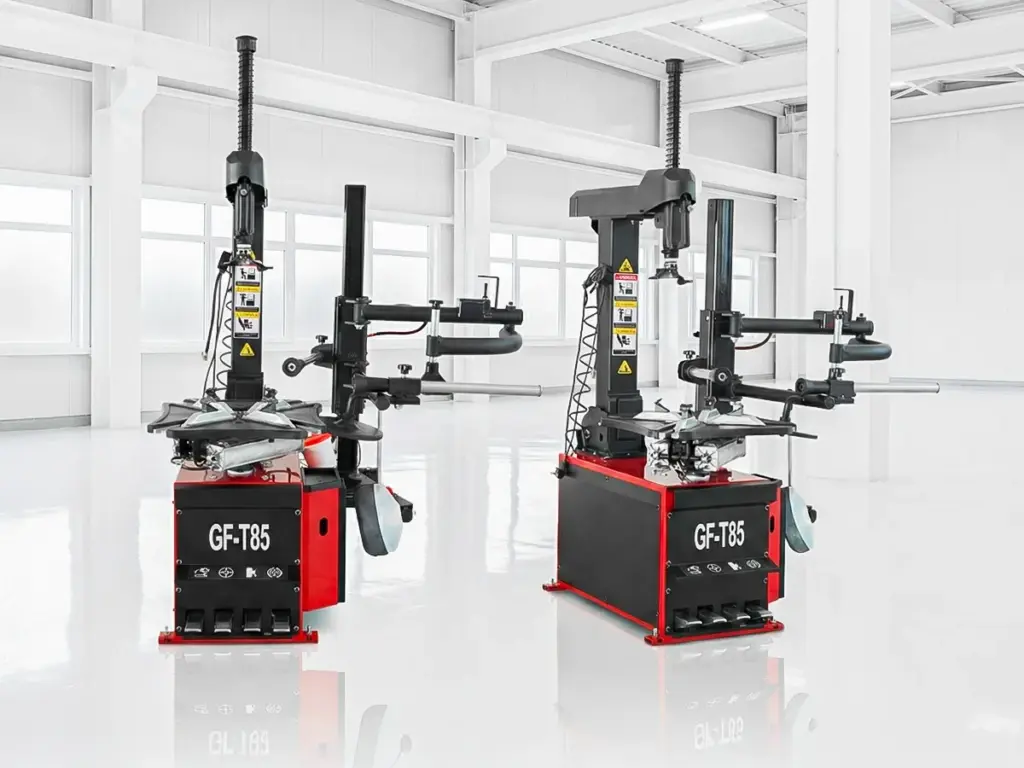
Professional Solutions for High-Volume Tire Service
Meeting strict 2026 technical standards for modern fleet maintenance requires an equipment ecosystem that minimizes technician error. As a premier automotive service equipment supplier, Guorange delivers precision-engineered tools built for workshop profitability. Our systems are manufactured under strict ISO 9001 protocols, ensuring that every tire changing machine provides the exact calibration needed for high-load SUV and EV tires.
All Guorange equipment is engineered to meet established 2026 international safety certifications. This complete bay integration supports a streamlined workflow that helps technicians handle high-volume demands with greater accuracy and speed.
👉Contact us today to secure your equipment and boost your workshop’s profit.
Domande frequenti
What are the primary types of tire changer machines available for workshops?
Modern service bays typically choose between three main configurations: swing-arm, tilt-back, and leverless systems. Your choice depends on your daily volume and the specific wheel types you handle. For a detailed breakdown of which hardware fits your business model, you can explore our tire changer machine types guide.
How often should you advise customers to change their tires based on shop standards?
While mileage varies based on driving habits, professional workshops generally follow a 6-year replacement rule, with a hard 10-year limit regardless of tread appearance. To provide your customers with the most accurate advice on service intervals, refer to our comprehensive tire change frequency shop guide.
What is the professional technical standard for determining when a tire must be replaced?
The industry standard for safety is a 4/32-inch tread depth, as the 2/32-inch legal limit often provides insufficient wet-weather traction. You should also evaluate chemical aging by checking DOT production codes during every inspection. You can find the full checklist in our technical standard for changing tires.
How do you maintain your tire changer machine to ensure long-term workshop safety?
Maintaining your equipment is essential for preventing mechanical failure and protecting your technicians. You should drain the water separator daily to prevent internal corrosion of the pneumatic valves. Inoltre, you must verify that the oiler is properly filled and adjust the duckhead clearance regularly to ensure it remains exactly 2mm away from the rim edge.
What should you do if a tire bead refuses to seat during the inflation process?
If the bead fails to pop into place at 40 psi, you must stop immediately and deflate the tire. Check for any mechanical binding or missed lubrication spots on the rim flange and the bead core. Re-apply a thick layer of mounting paste and retry the sequence, as forcing a bound tire with excessive air pressure is the leading cause of shop floor accidents.


